DeviceScript is Microsoft’s chance at the embedded industry
TypeScript's Embedded Variant
Microsoft has often been unlucky in both the mobile and embedded markets. Apart from Windows CE, Microsoft has not yet been able to gain a foothold in this area. With DeviceScript, “Big M” is now once again trying to expand their reach towards the embedded industry.
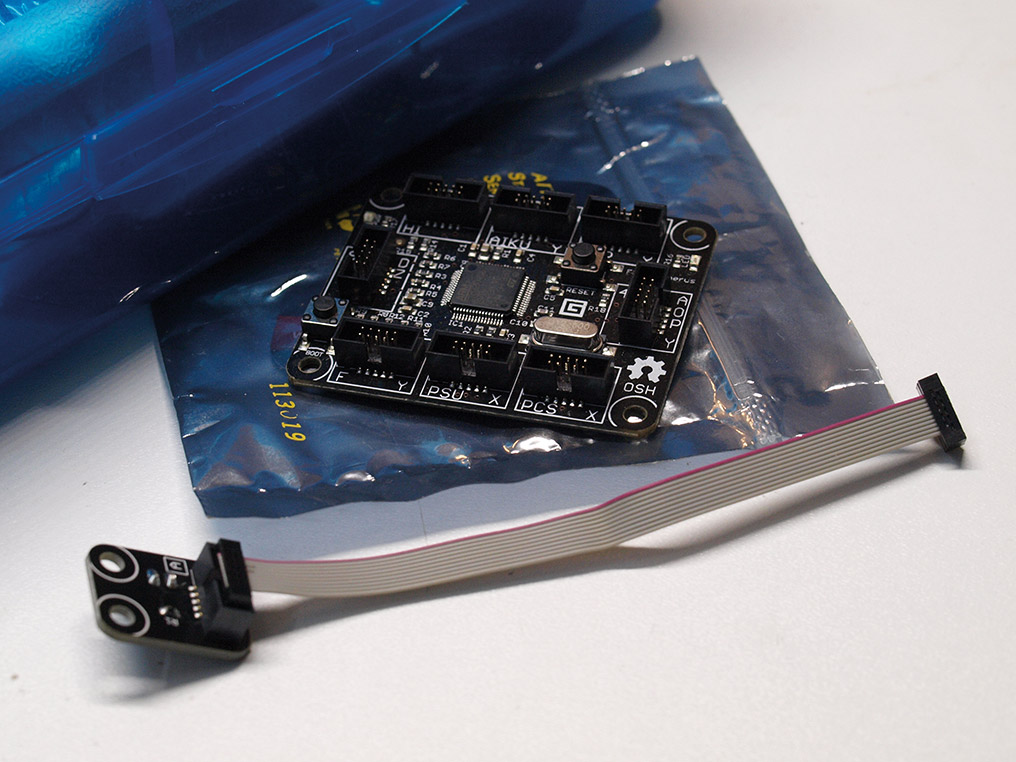
Whether it was Gadgeteer or Windows Mobile 5, some of the products had almost borderline ingenious functionality, but were ultimately unsuccessful due to various third-party circumstances or the infamous act of God. With DeviceScript, Microsoft is trying in many ways to build on the success of Gadgeteer. As a reminder, the system shown in Figure 1 offered a software-IC-like thinking scheme in which developers tried to plug together circuits from prefabricated modules. The purpose of this approach was to significantly speed up prototyping - the design of the generally finished solution could then be left to an electronics engineer.

Fig. 1: Microsoft Gadgeteer: Puzzle for electronics engineers
The analog orientation of Gadgeteer results in some interesting programming paradigms that allow DeviceScript to go beyond an ordinary microcontroller JavaScript executor. In this article, we’ll look at some of them in detail.
Selecting the target hardware
According to the compatibility list available here, Microsoft currently supports mainly RP2040 and ESP32-based controllers. Interestingly, the focus is on those ESP32 variants that have an integrated USB-to-serial converter - according to Microsoft, the USB-to-serial converter used in standard ESP32 variants is causing unspecified problems, including an unstable USB connection.
Supported platform number 2 is the RP2040 - however, it should be noted here that the Infineon WLAN hardware available on the Raspberry Pi Pico W is also not yet supported in DeviceScript at this time.
To make it easier to get started, we want to carry out our experiments here with an inexpensive Raspberry Pi Pico - the non-WLAN version was distributed in bulk by the Raspberry Pi Foundation at various conferences and should be easy to borrow from the friendly (defense) electronics technician next door.`
The DeviceScript team relies on Visual Studio as the main development environment. However, the tooling working in the background is based on Node.js, as is the majority of the rest of TypeScript. Since even comparatively recent versions of Ubuntu, such as the 20.04 LTS used here, come with a very outdated version of Node.js, the first step is to add a repository and command an update of the version status:
tamhan@TAMHAN18:~$ curl -fsSL https://deb.nodesource.com/setup_18.x | sudo -E bash -
tamhan@TAMHAN18:~$ sudo apt-get install -y nodejs
After successfully completing the installation process, you must check the version by entering node -v - the DeviceScript Toolchain is compatible with versions from 18.0 inclusive. The following version was installed on the author's workstation at the time this article was written:
tamhan@TAMHAN18:~$ node -v
v18.16.0
The next step is to start Visual Studio Code. To easily install the extension from the extension marketplace mentioned in here, simply invoke the input panel by pressing CTRL + P and enter the command ext install devicescript.devicescript-vscode. After confirmation, the extension manager will automatically download the plug-in.
For the actual creation of a project skeleton, we press CTRL + SHIFT + P in the first step and then enter the command DeviceScript | “Create New Project” command.
Visual Studio Code responds by displaying a Common dialog in which you select the folder that is to be used as a repository for the various files and folders belonging to the project. In the next step, the IDE asks for the desired name - the author will choose "DeviceScriptP1" here.
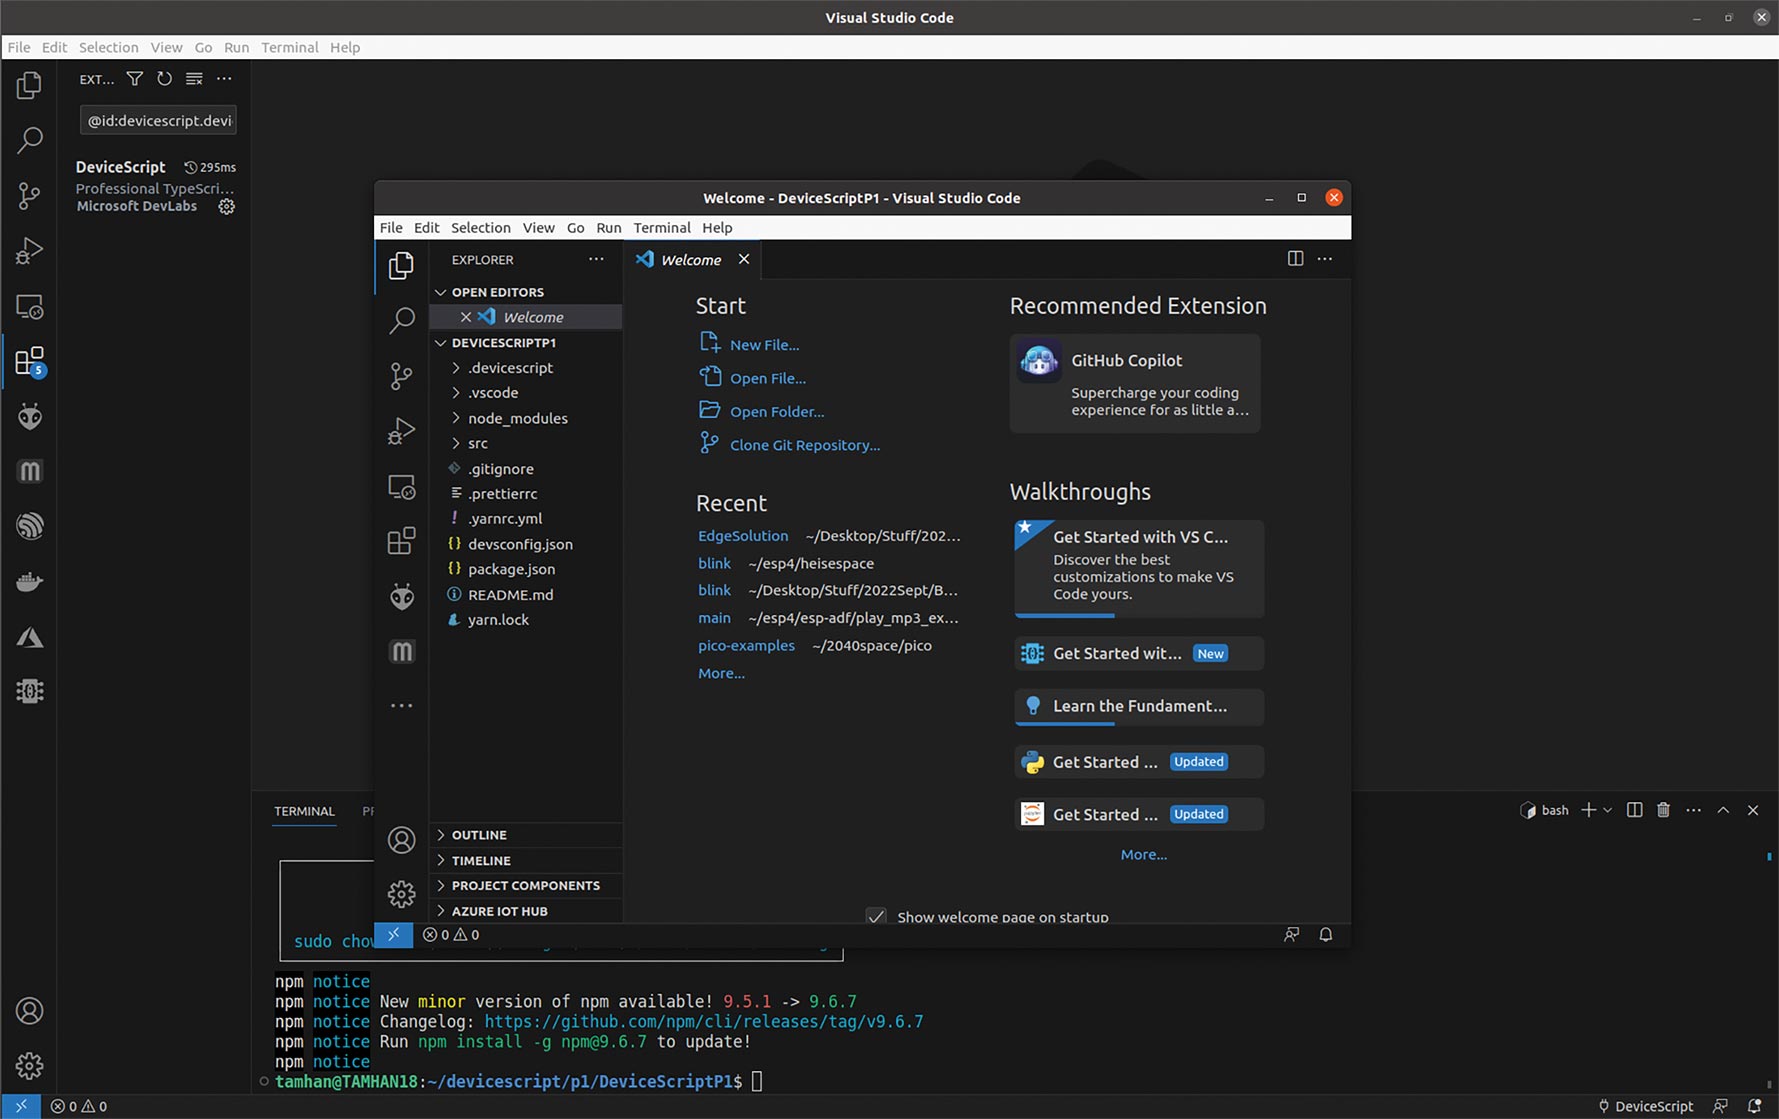
After confirming the project name, the extension then offers to open the project in a new window. Make sure to press the button in this option, which is normally displayed at the bottom right - a pop-up window will appear as shown in Figure 2, which hovers over the Visual Studio code window used for the triggering and serves as an entry point for working with the DeviceScript project.

Fig. 2: If you agree to open a new instance, a window optimized for DeviceScript is displayed
The SRC subfolder contains the file main.ts, which provides the following code to be used as the start project:
import * as ds from "@devicescript/core"

setInterval(() => {
  console.log(":)")
}, 1000)
DeviceScript works with a firmware to be deployed on the target computer, which then includes modules with compiled bytecode. A freshly unpacked Raspberry Pi Pico or one taken from another project logically does not yet have this.
For the actual deployment of the firmware, you must first open the command palette again and now select the DeviceScript | Flash Firmware option. Visual Studio will then display a selection wizard in which you can choose the Raspberry Pi Pico. After confirming, the prompt shown in Figure 3 appears, indicating the need to activate the bootloader.

Fig. 3: Manual activation of the bootloader is required at this point
To do this, disconnect the Raspberry Pi Pico and reconnect it while holding down the BOOTSEL button. The reward for your efforts is that the bootloader integrated in the chip then activates the USB drive, which can be used to deploy .UF2 files. The TypeScript toolchain scans for 120 seconds for the appearance of such a USB drive and then deploys the firmware automatically. The process generates the error message in Figure 4 - as long as the string OK appears under the CP command, everything is OK.

Fig. 4: You can safely ignore the warning about missing authorizations
If this message bothers you, you can resolve it with:
tamhan@TAMHAN18:~$ sudo chown -R $USER:$(id -gn $USER) /home/tamhan/.config
tamhan@TAMHAN18:~$ npm i serialport
In the next step, you must click on the DeviceScript icon in the Visual Studio Code toolbar on the far left to open the control bar shown in Figure 5.

Fig. 5: This toolbar allows you to manage DeviceScript targets from within Visual Studio Code
After clicking on the Connect Device button, another pop-up window appears in the main workspace of Visual Studio Code, which lists the different types of device connection. If you are using an RP2040 like us, choose the Serial option. The reward for your efforts is that the process computer is now listed at the bottom right as shown in Figure 6. The device also appears in the Devices view as shown in Figure 7. Below the IC in the toolbar on the left, there is also a callout with the number 1, which provides information about the number of connected DeviceScript terminals.

Fig. 6: The appearance of the...

